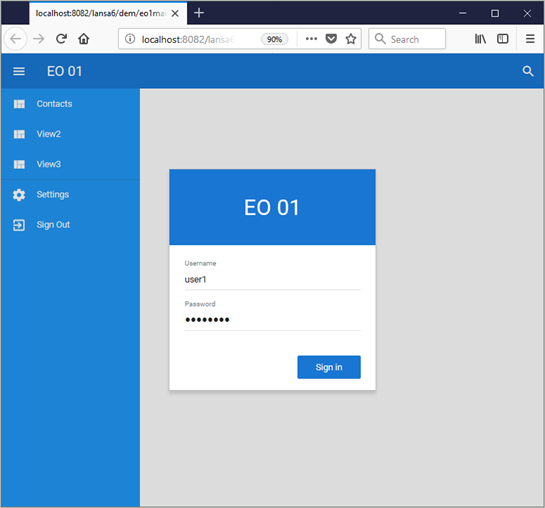
In this step you execute the generated application to see how it works.
1. Switch to the browser window where the application is running:

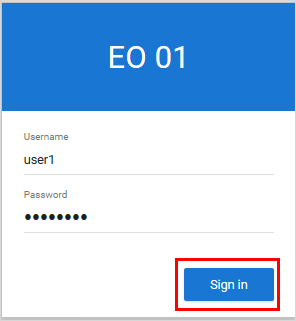
2. Click Sign In to sign into the application (the credentials are prefilled, and there is no validation):
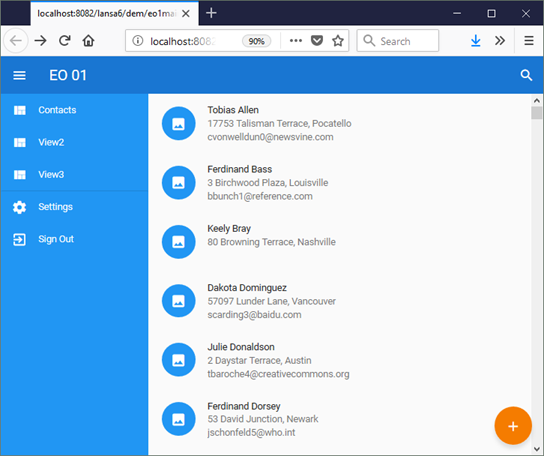
A list of contacts is shown. You can view, search, edit or delete contacts. You can also create new contacts:
3. Click a contact to display a dialog with the contact details:

4. Change the Email Address of the contact so that it does not contain the @ sign and click the Save icon:
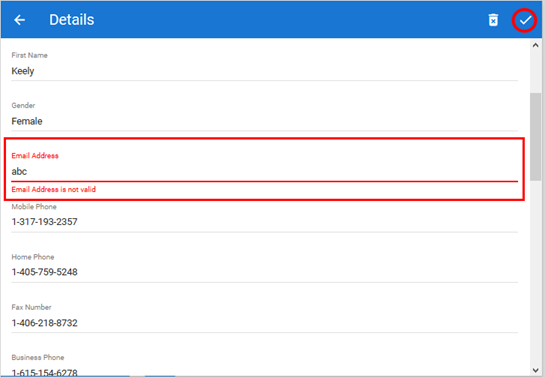
Note that the LANSA repository rules validate the field and flag the incorrectly formatted email address (so no coding is required).
5. Correct the email address and click the Save icon.
6. Next click the contact's Birth Date and notice that it is visualized as a calendar. This visualization is centrally defined in the LANSA repository:

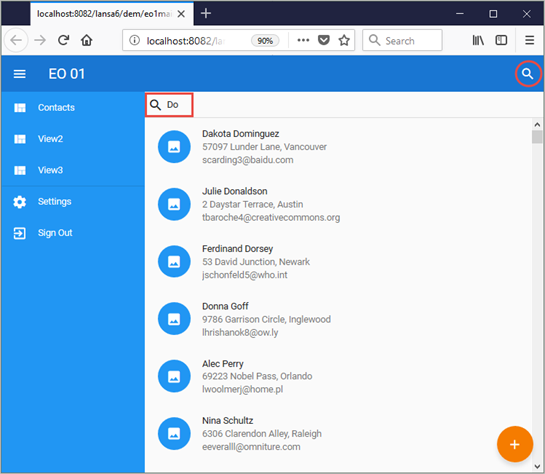
7. Then use the built-in search facility to filter contacts:
8. Now click View2 in the menu on the left:
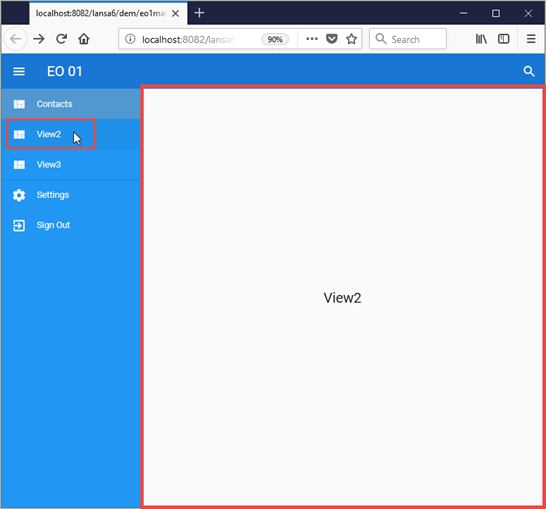
View2 is an empty placeholder view which was generated automatically. Views are explained in the next section.