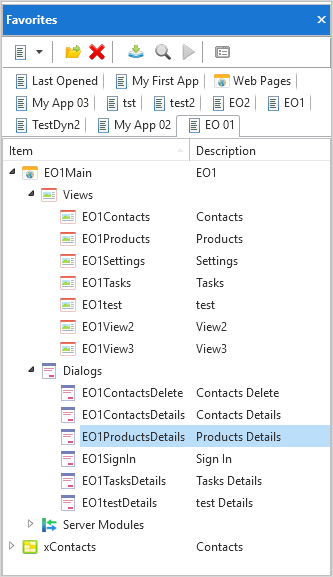
1. In the IDE, switch to the Favorites tab and locate an application which has a Products view. If you don't have one, follow the steps in Add and Remove Views to create the view.
2. Expand Dialogs.

3. Open the Products Details dialog.
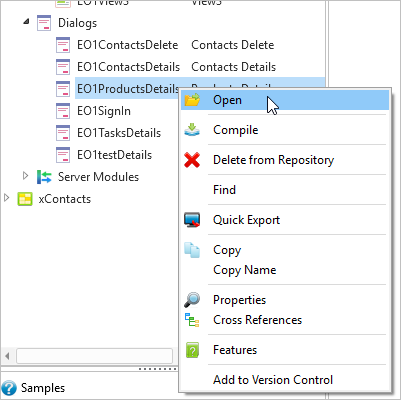
You will start by deleting two fields on the dialog.
4. In the Design view, select the Product Category Id field.
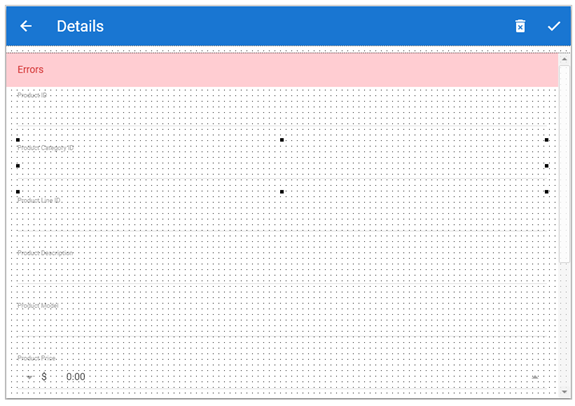
5. Right-click and select Delete Component from the context menu.
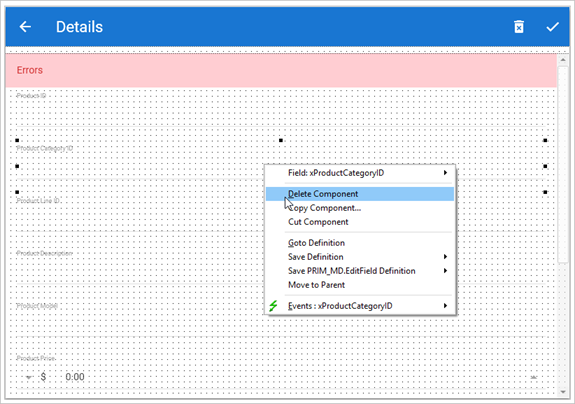
6. Delete the Product Line ID field in the same way.
Next you are going to add a photo of the product on the dialog.
7. Display the Controls tab and locate the Image control.
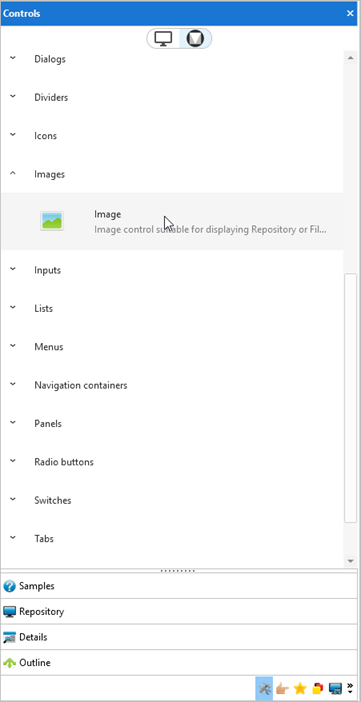
8. Drag and drop the image onto the dialog.
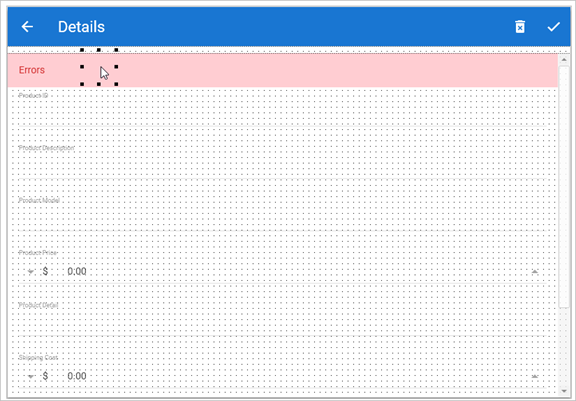
9. With the image selected, display the Layout tab on the ribbon, and change the image layout properties:
o Row2
o Column1
o Alignment Top Center
o Size Fit to Width
o Flow Down
o Top and bottom margin 3
o Left margin 10.

The dialog should now look something like this:
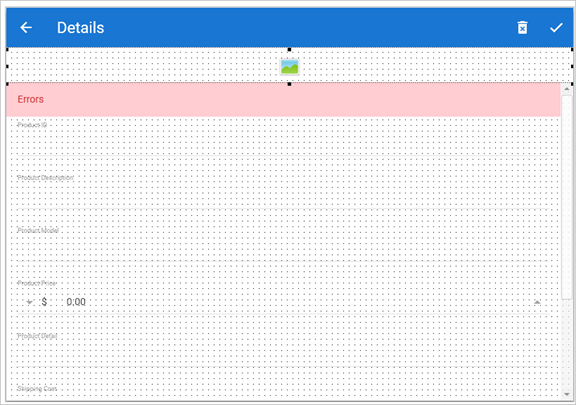
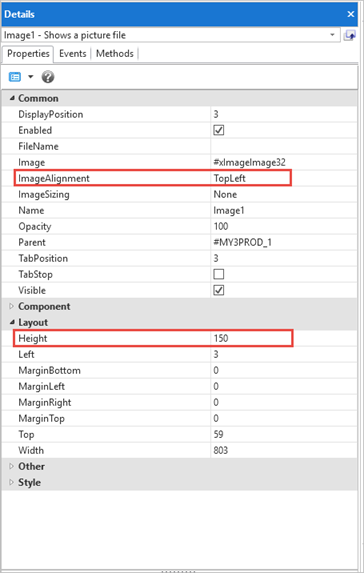
10. Next display the details of the image and set its ImageAlignment property to TopLeft and Height to 150.
Lastly write the code to load the product image into the image control.
11. Switch to the Source tab.
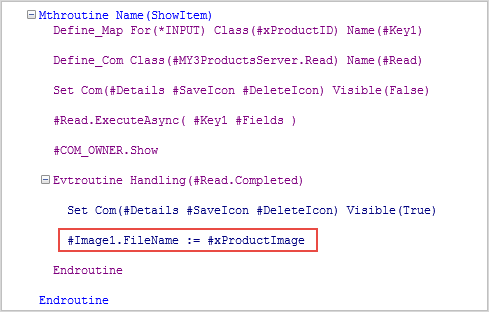
12. Locate the ShowItem method routine. In the event routine handling Read.Completed add this statement:
#Image1.FileName := #xProductImage
Your code now
looks like this:
13. Compile the dialog.