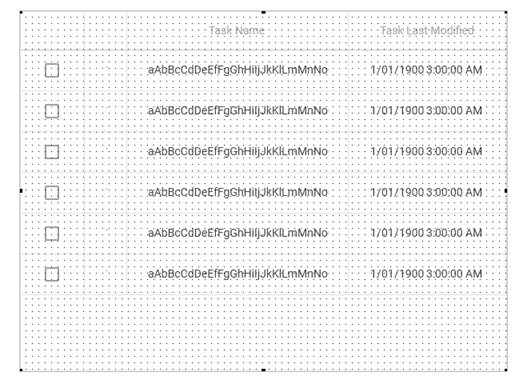
In this step you will add a data table to the view to display task information.
1. In your web page, open the Tasks view for editing.

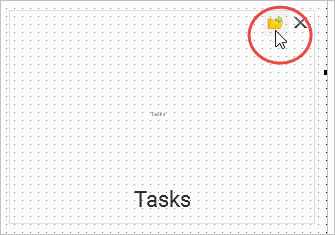
The task view is empty except for the label Tasks.
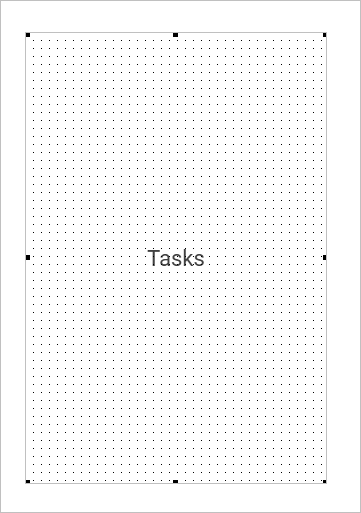
2. Delete the label.
3. Display the Controls tab.
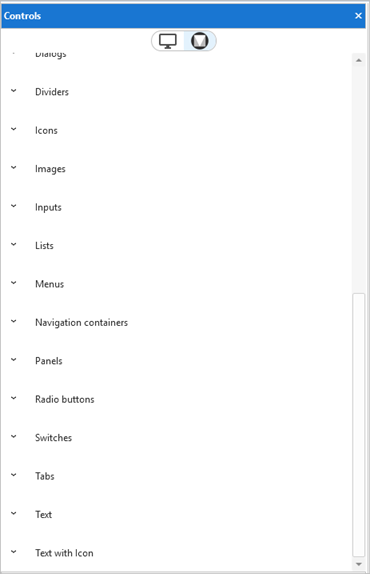
4. Expand Data Tables.
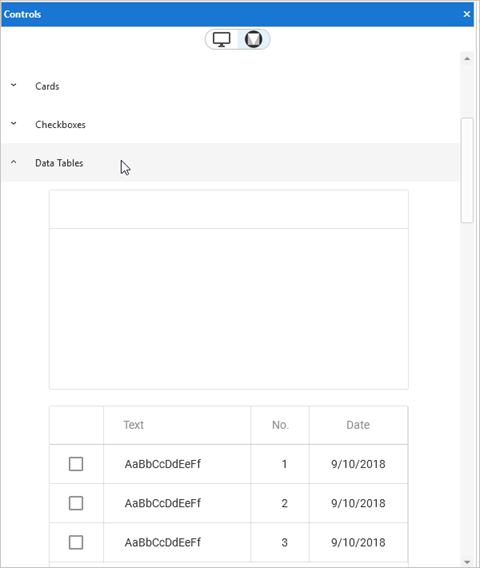
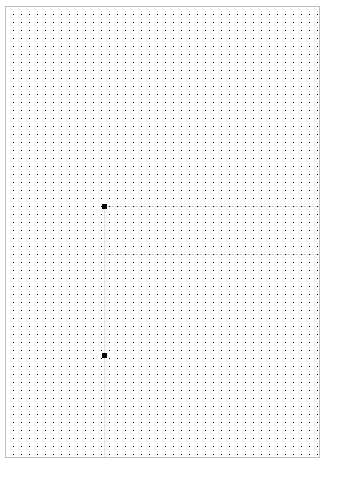
5. Drag a blank data table to the view.
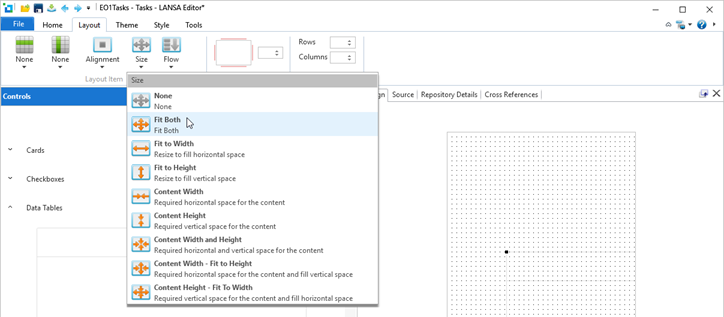
6. Display the Layout ribbon, select the data table and make its size Fit Both.
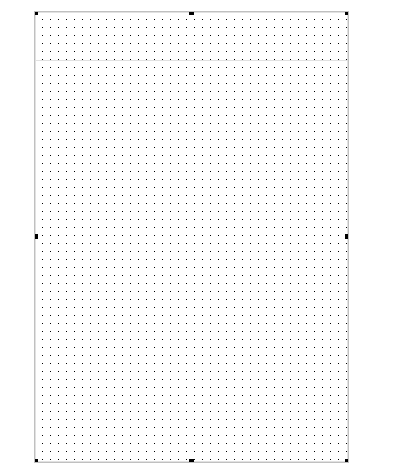
The data table is now centered on the view.
Next you will add columns to the data table.
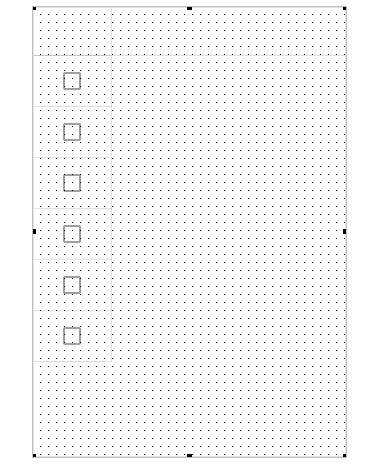
7. Expand Checkboxes in the Controls tab and drag and drop a Standard Checkbox to the data table to create a column with check boxes.
8. Switch to the Repository tab and locate the xTask table. Expand it.
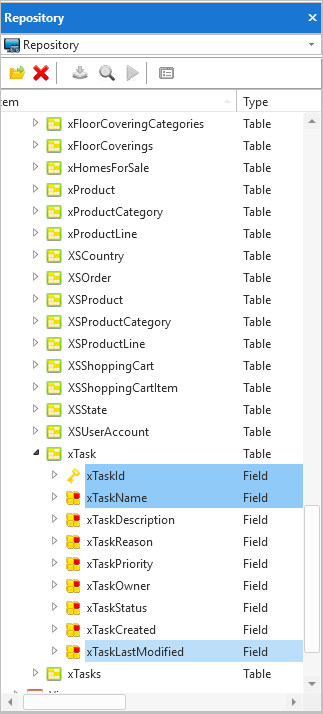
9. Drag and drop the xTaskID, xTaskName and the xTaskLastModified fields onto the data table.
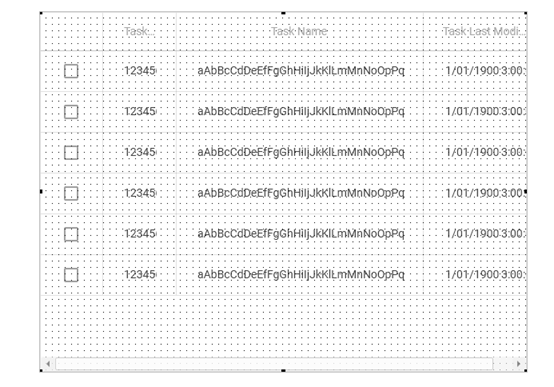
10. Expand the entire view and click and drag column separators to resize the columns.
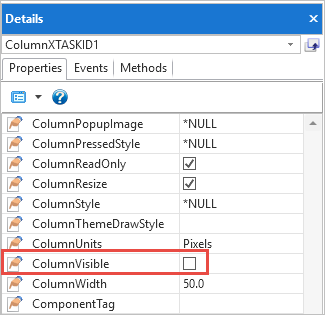
11. Double-click the Task ID column to display its details, and untick the ColumnVisible property (you will be using the task id only as the key for table access).
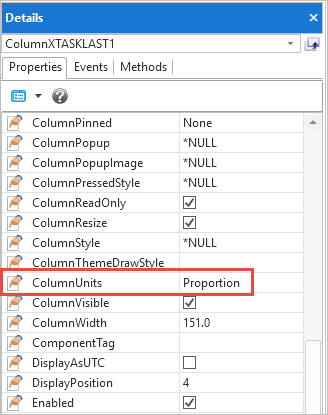
12. Make the ColumnUnits property of the last column Proportion so it fills the space left over from the other columns.
The view's user interface is now ready.
