
For this example you need a business object associated with the xEmployee table and a hidden filter - which has no user interface – to load data to the instance list.
Create a business object (see Create a Business Object Manually) and make its Caption Employees.
Display the Common Activities tab, and use the option Select the columns to display and to use for identification, and specify xEmployee as the table:
Include the name and address fields as columns, and make xEmployeeIdentification the instance list identifier.
Click Finish.
Then choose the Allow search over all table views option and click Create Only to generate filters for the business object.
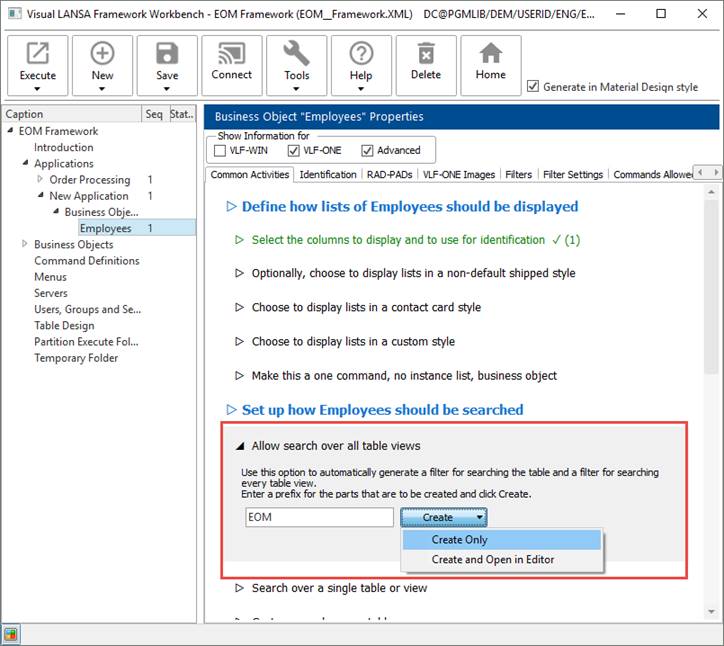
Wait until the filters have been created and snapped in.
Then display the Filters tab:
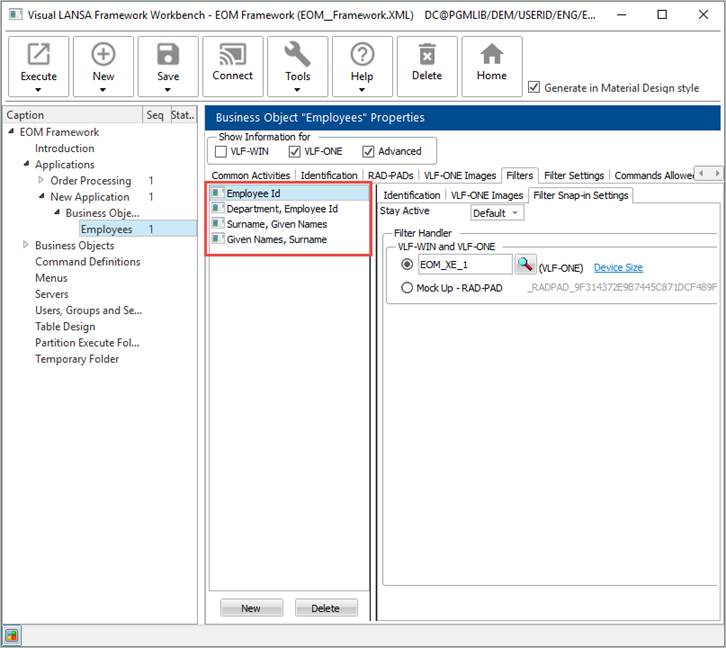
Notice that four filters have been snapped in for Employees.
A fifth, hidden, filter has been created for Employees. It is not snapped in by default because at run time it would hide the other filters.
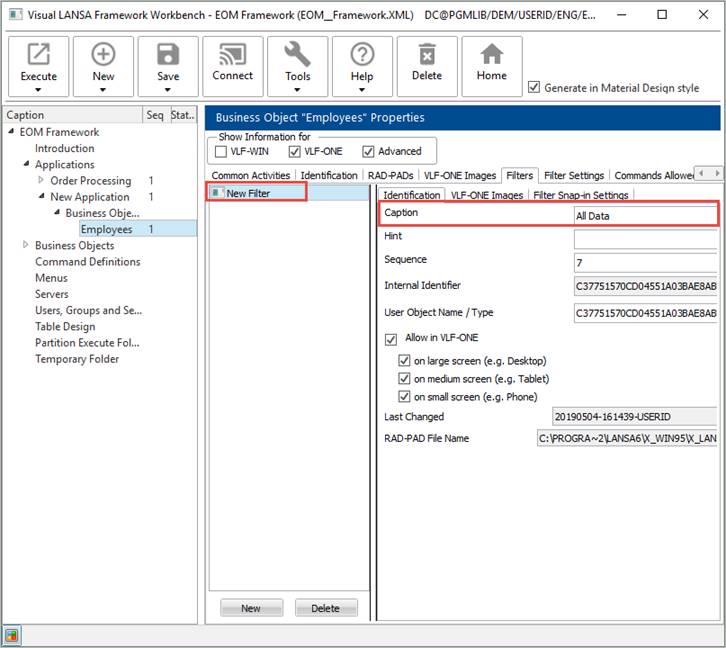
Delete all four filters that have been snapped in, and add a new filter.
Make its Caption All Data.
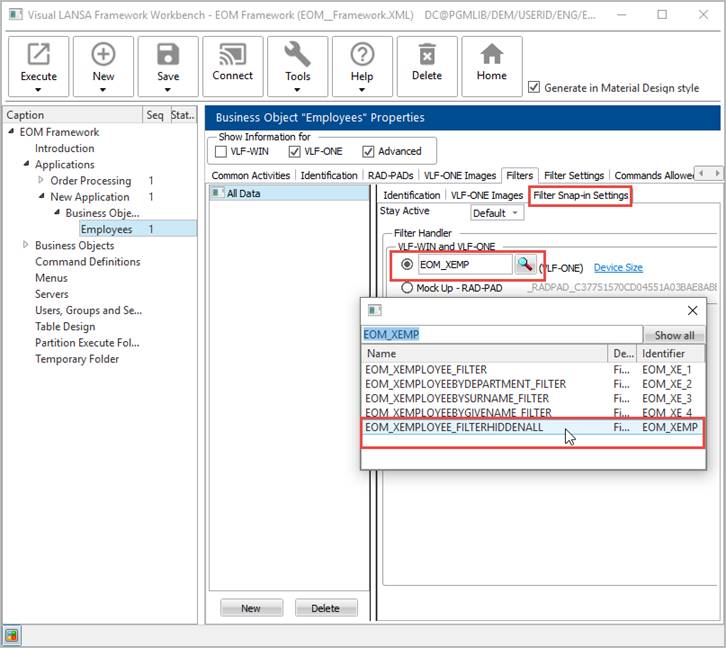
Display the Filter Snap-in Settings tab and snap in the hidden filter (XXX_XEMPLOYEE_FilterHiddenAll):
Save and restart the Framework.