The Deployment Tool Guide provides step by step instructions for deploying a version or patch into the various scenarios into which you might deploy an application. See Deployment Tool Tutorials for details.
The following provides a very brief overview to help you get started. Refer to the tutorials before building your own deployment package.
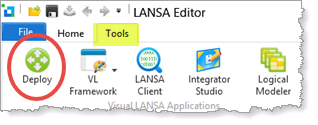
1. Open the Deployment Tool from the Tools ribbon:
2. Define a Company. The company name will be included in the install path.
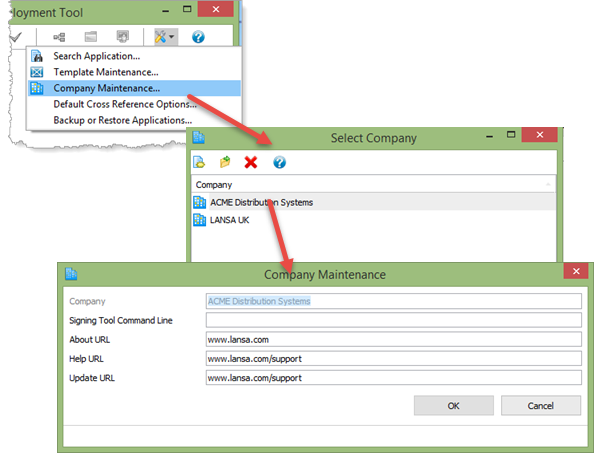
You can optionally define URLs for About, Help and Update information. This information will be included into the DLL components for desktop applications.
The Signing Tool Command Line information is only required if the MSI or MSP files generated when a version or patch is built are to be digitally signed.
4. Using Cross Referencing has the advantage that fewer objects need to be added to the package. For example, adding the web page will also add all its view and dialog components. If these also have cross reference settings, the components used by each view and dialog will also be added to the package. Cross Referencing is optional.
Define Default Cross Reference Options for each component type:
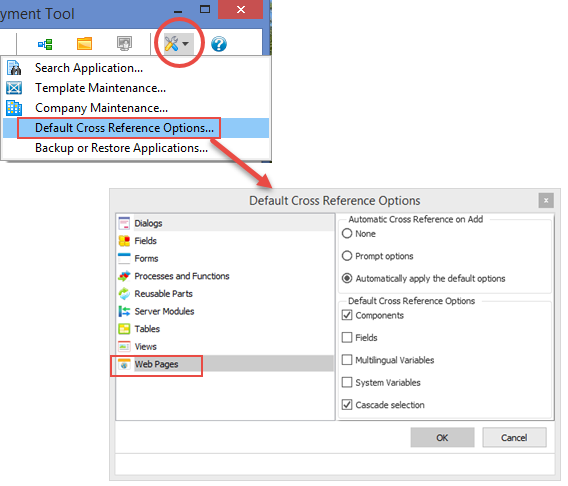
Select each component type in turn and specify its Cross Reference defaults.
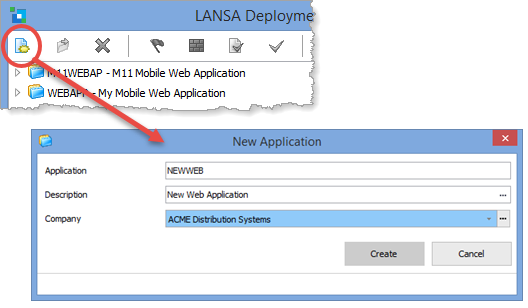
4. A deployment package is defined under an application. To define an application, enter Name, Description and select a Company:
5. Version Number will default to 1.0.0. Enter a Description for the Version.
Select a template to suit the type of deployment package you are building:
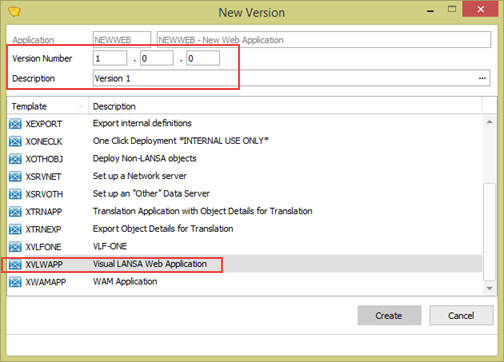
Within the application, you will first define an initial install version. Later you may define one or more patches for this application, and/or a new version.
The install path will be:
C:\Program Files (x86)\<company name>\<application description>\
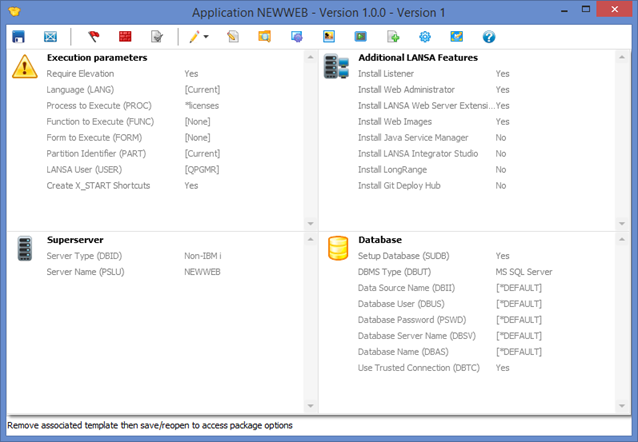
6. The template defines suitable package option defaults and hides package options that are not needed for the selected type of deployment.
The selected package options are displayed:
7. To add the objects to be deployed, open the Select repository objects dialog from the toolbar:
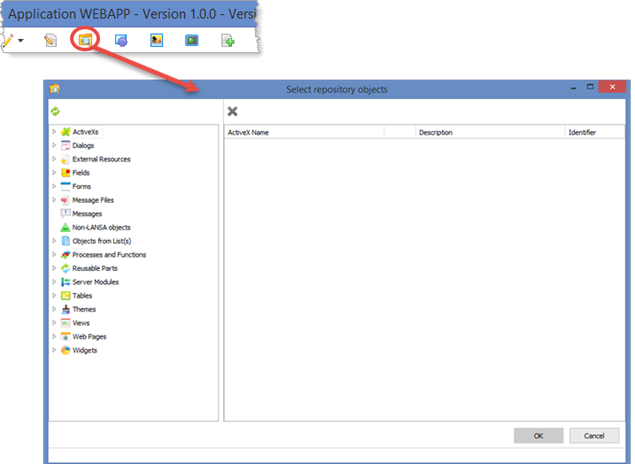
8. On the left-hand side select each required object and drag it onto the right-hand panel:
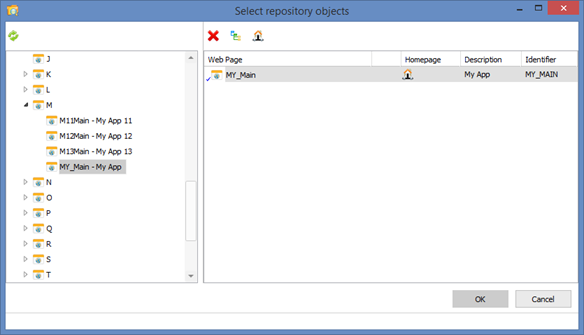
Options then available in the toolbar, depend on the object type. Cross Reference settings may be reviewed/changed for each object.
9. Add all other application objects to the package. You don't need to consider objects that are already included as a result of cross referencing.
10. Click OK to close the Select Repository Objects dialog.
Depending on the type of application being deployed, some package options will need to be defined. Each package option can be edited by clicking on it.
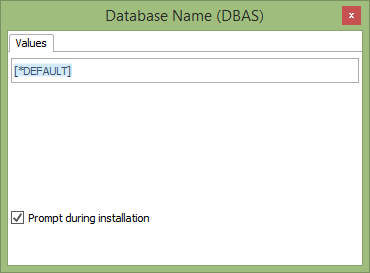
11. For example, you may need to amend the database options.
If your install needs to setup the application database, you should have already defined the database using SQL Server Management Studio. Complete the Database options as appropriate:
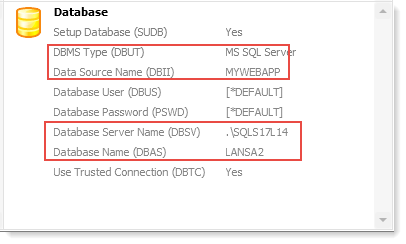
Also other DBMS are supported. See the Supported Platforms guide.
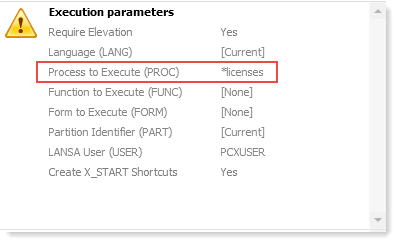
12. For a web application, changes to the Execution options will not be necessary.
When the application executes for the first time, the LANSA licence manager will be run:
If necessary, obtain a web runtime licence for the target system using the licence manager.
A Visual LANSA Development system has a limited web runtime licence. A deployed system must be licensed.
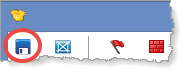
13. Save the package definition:
14. Close the Package Maintenance dialog.
15. Depending on the type of deployment, the install may need to create a LANSA Listener to handle the application's communications. The Listener is defined at the application level.
In the case of a web application, this will typically be deployed multi-tier, like this:
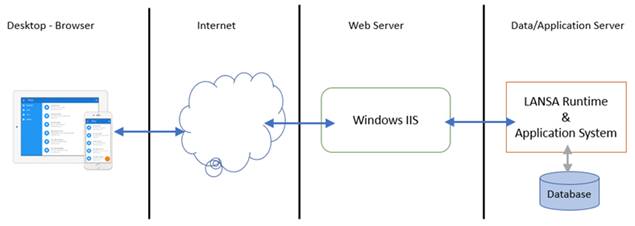
The LANSA Listener service will handle communication between the web server and the data/application server.
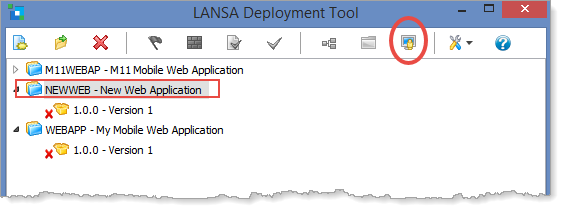
16. To define the listener, select the application and open the LANSA Communications Manager using the highlighted toolbar button:
17. The Communications Manager will open with the title route information for a deployed application. Select Listener from the Advanced menu:
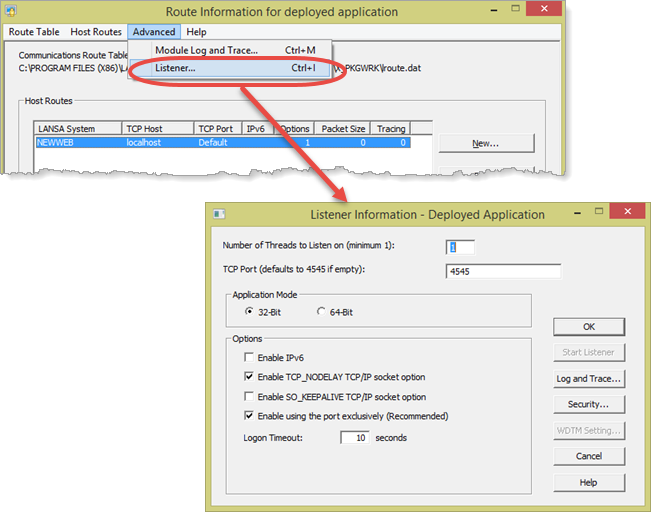
18. Specify a TCP Port number, which must be unique within the domain.
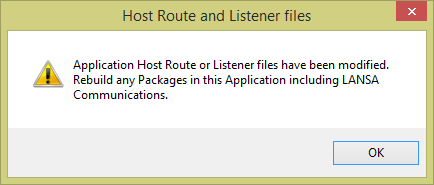
19. When the Communications Manager is closed, a message box will be displayed:
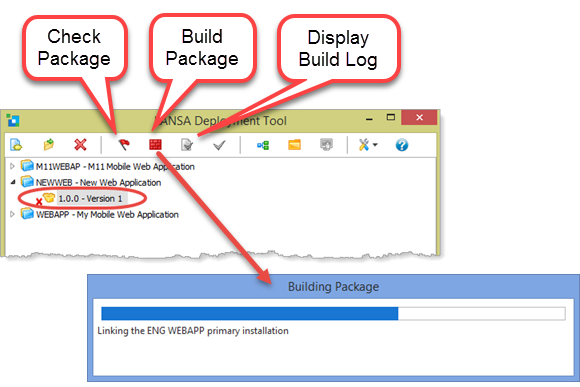
20. With the package selected in the Deployment Tool main window, you can Check and then Build the package. When the build completes, a build log will be displayed:
21. The package install file (MSI) can be located using the Go to folder toolbar button:
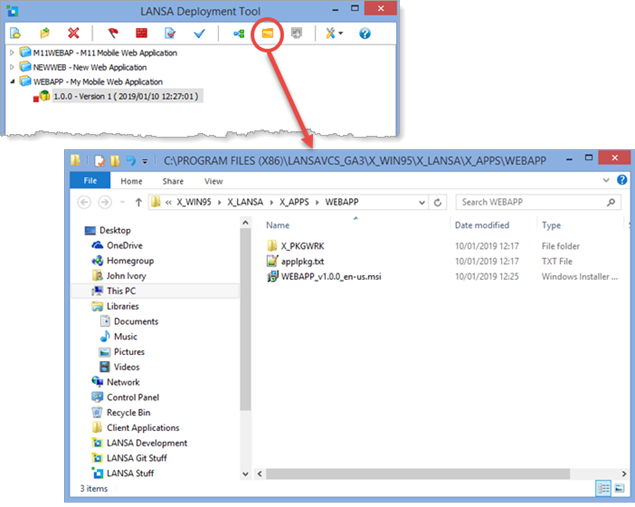
The path will be similar to this:
C:\Program Files (x86)\LANSA\X_WIN95\X_LANSA\x_apps\<application name>
You need just the .msi file, not the entire directory to deploy your application.
22. Once the package has been successfully installed and the application tested, the package should be flagged as distributed, using this toolbar button:
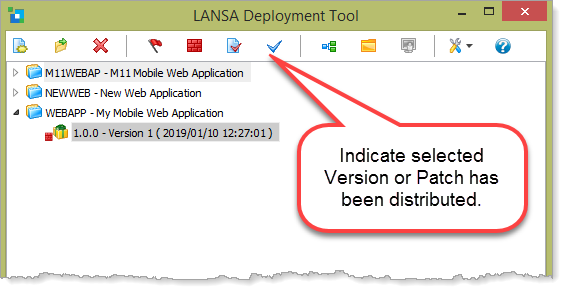
Once flagged as distributed, the package can no longer be opened for editing.