A new Github repository has a master branch only. In order to provide a simple introduction, you will define one other branch only for development.
1. Close Visual LANSA.
2. Open Git Extensions, and select Open Repository. Browse to find the local repository for Visual LANSA. For example:
C:\Program Files
(x86)\LANSAVCS_GA3\LANSA\LANSAVCS_GA3\VersionControl
Where: c:\Program Files (x86)\LANSAVCS_GA3 is the Visual LANSA root folder
You can use the context menu on the Version Control tab Show in Windows Explorer.
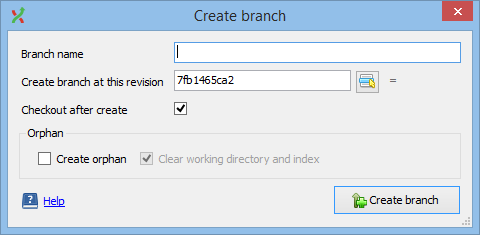
3. Use the Commands menu -> Create Branch to create a second branch. Enter Branch Name = develop and click Create Branch:
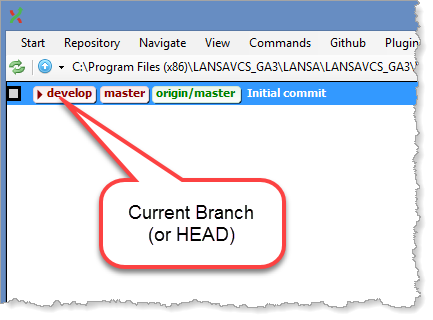
The new branch is defined and develop becomes the current branch.
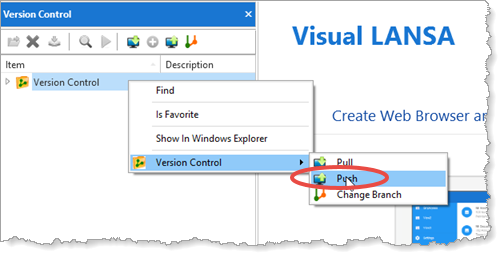
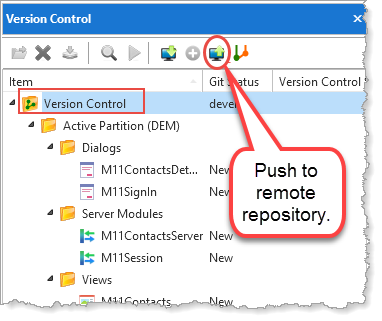
4. Open Visual LANSA. On the Version Control tab, select the Version Control folder. Use the context menu to Push to update the remote repository.
The next step assumes that Visual LANSA is set up to add new components to Version Control.
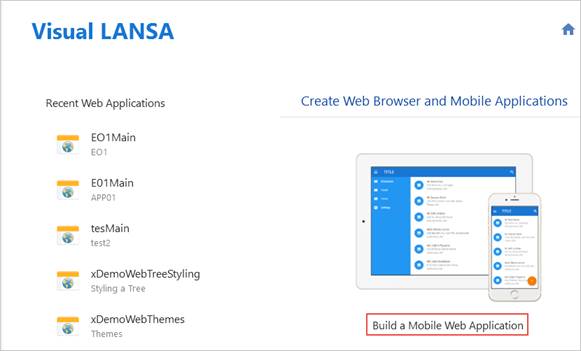
5. On the Home tab, generate a mobile web application using the Build a Mobile Web Application wizard:
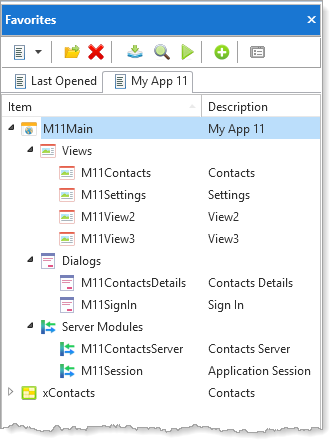
The generated application contains these components:
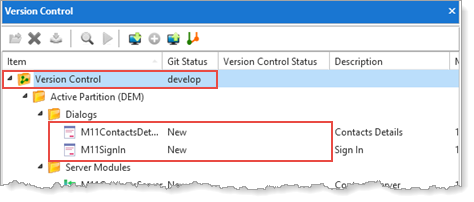
6. Select the Version Control tab. Use the context menu on the column headings to show Version Control Status and Git Status columns:
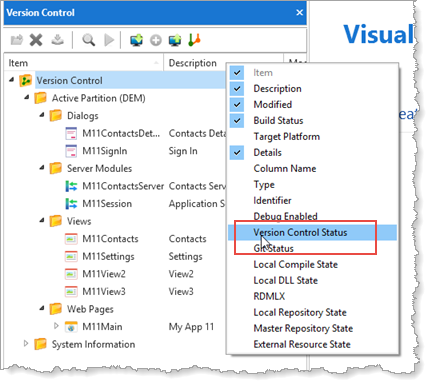
The component Git Status is New. Note that this column shows the current branch against the Version Control folder.
6. Select the Version Control folder on the Version Control tab and use the context menu and select Show in Windows Explorer:
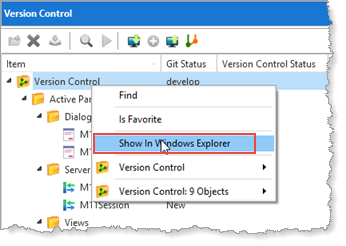
Expand folders to show the contents of the Dialogs folder:
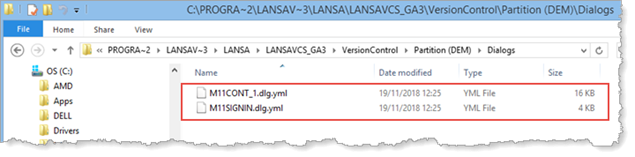
Two YML files have been added for the new components.
7. When you have finished testing the new mobile web application, you are ready to commit your changes to version control. On the Version Control tab, select the web page component. Use the context menu to select My_Main: 9 Objects-> Version Control -> Commit:

Note that the names shown in the image may vary.
8. Enter a commit message and click OK:
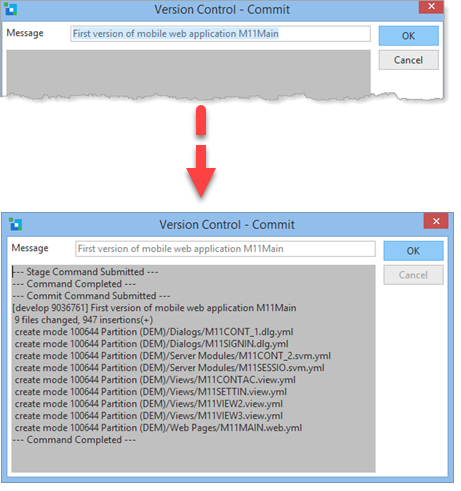
Your changed components are now committed in the local VCS repository.
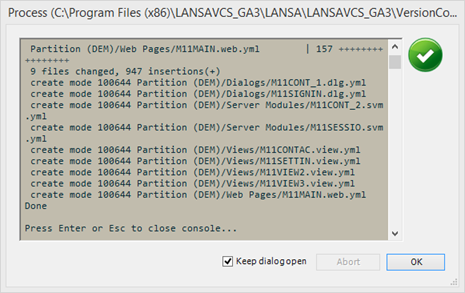
9. To make these new components available to other developers, you now need to Push the changes to the remote repository. Select the Version Control folder and use the toolbar button to Push to the remote repository:
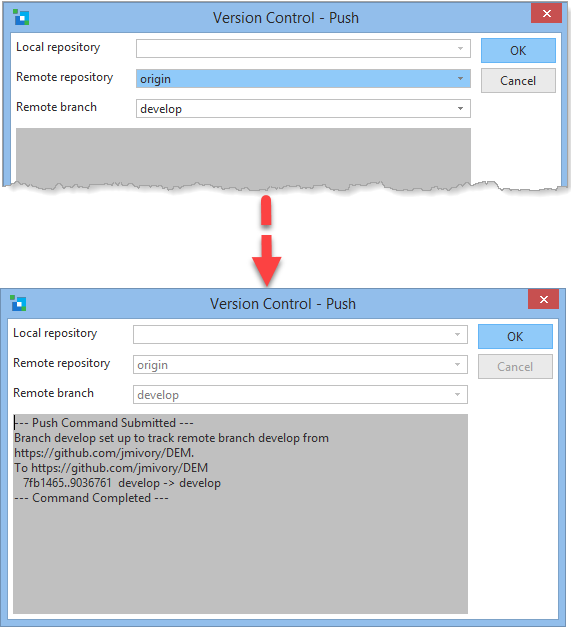
Click OK.
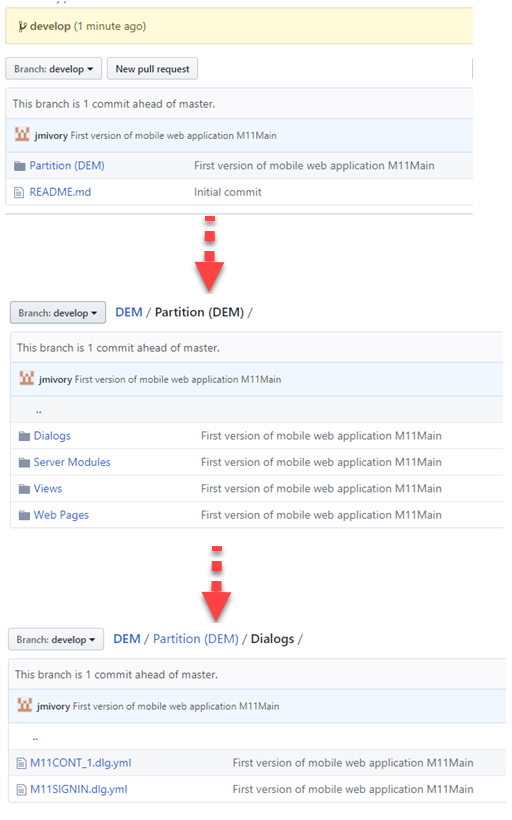
10. In a browser, log on to view your Github repository and select the develop branch. As before, the Dialogs group contains two components as YML files:
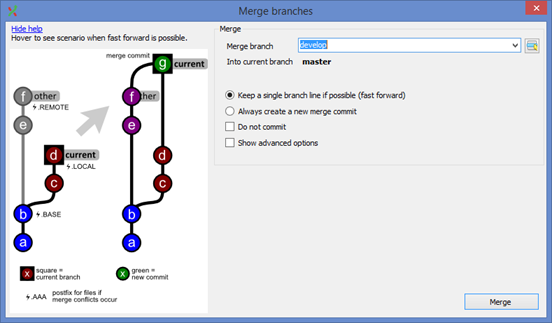
11. Close Visual LANSA. Once the application has been deployed, you should merge the develop repository with master. You can do this using Git Extensions:
•If develop is the current branch, first check out branch master, making this the current branch.
•Select Merge Branches from the Commands menu to merge the develop branch into the master branch: